Execute the Simulation
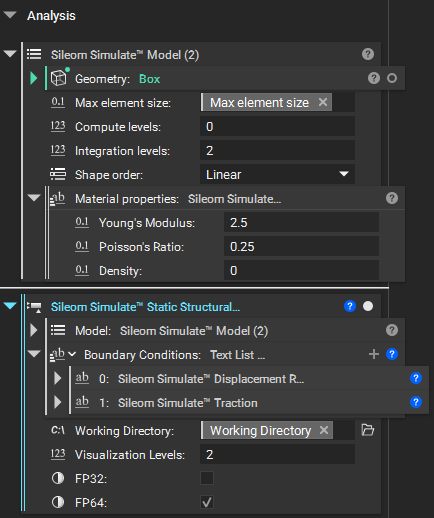
We’re now ready to run our simulation. Bring in a Sileom Simulate Static Structural Analysis block. Let’s take a look at our inputs.
Model: This is the simulation model we just created.
Boundary Conditions: This a list of all the boundary conditions we have created.
Working Directory: This is our directory for holding temporary and result files.
Visualization Levels: This affects the resolution at which we visualize the results. This won’t affect the simulation accuracy or runtime, but will affect the final visualization. A reasonable value for this is the same value we used for the number of integration levels.
FP32: Select this box to run the simulation using primarily 32-bit single-precision computations. Many GPUs perform significantly better using 32-bit calculations than with 64-bit calculations at the cost of degraded accuracy.
FP64: Select this box to run the simulation using primarily 64-bit double-precision computations.
For our beam let’s set the model to be the simulation model we created. And let’s pass each of our boundary condition blocks into the Boundary Conditions list input. Set the working directory to the one we defined earlier. And set the number of visualization levels to 2; the same as the number of integration levels we used in our model.
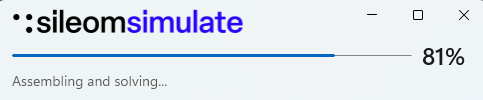
With all inputs set the block should be ready to run. If Autorun is disabled, go ahead and run the block. When running, a progress indicator will provide information about the current status of the simulation.
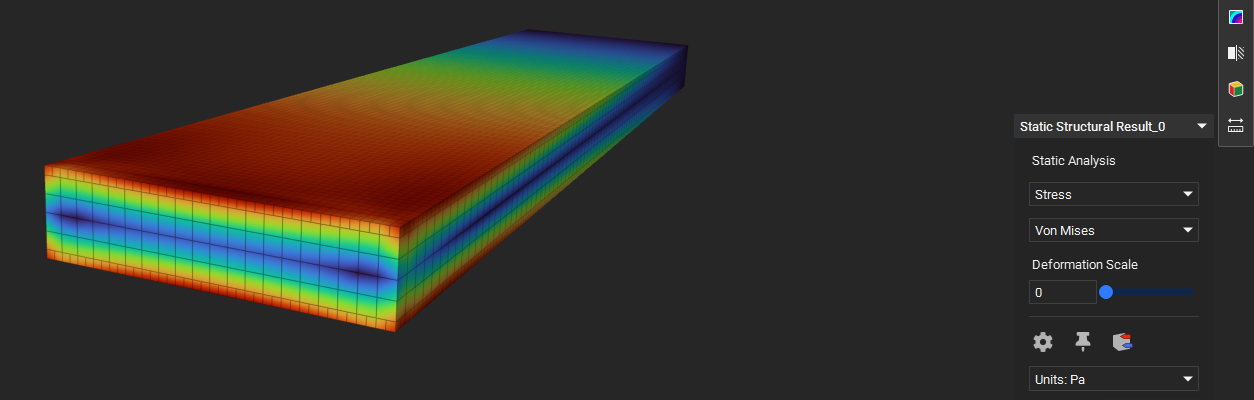
Once it finishes we have our result. We can display displacements or stresses: